The Releases module is currently in beta version, which means we are working to improve it. This feature is only available for stores using FastStore.
Managing an ecommerce operation requires the retailer to perform several updates and changes in the store, which are often interconnected — for example, carrying out a publicity campaign in which different storefront elements need to be configured.
The Releases module allows the retailer to manage connected groups of changes to coordinate the stores changes’ planning, creating, scheduling and publishing. In the beta phase, the changes that can be grouped together must be related to the CMS. Other modules of the VTEX platform are not yet included.
The main benefits of the module are:
- Optimizing the platform performance: publishing grouped changes eliminates processing queues.
- Simplifying the experience of managing connected changes, which increases the operation's efficiency.
- Better control when testing and reviewing changes before publishing.
- Easier scheduling or deleting grouped changes.
To use the Releases module, you must configure the CMS. Learn more in Installing Releases on VTEX Headless CMS.
This article will cover the following topics:
Creating releases
There are two ways to create a new release:
- Using the Pages section.
- Using the Releases module.
How to create a release using the Pages section
To create a release, follow the step-by-step instructions below:
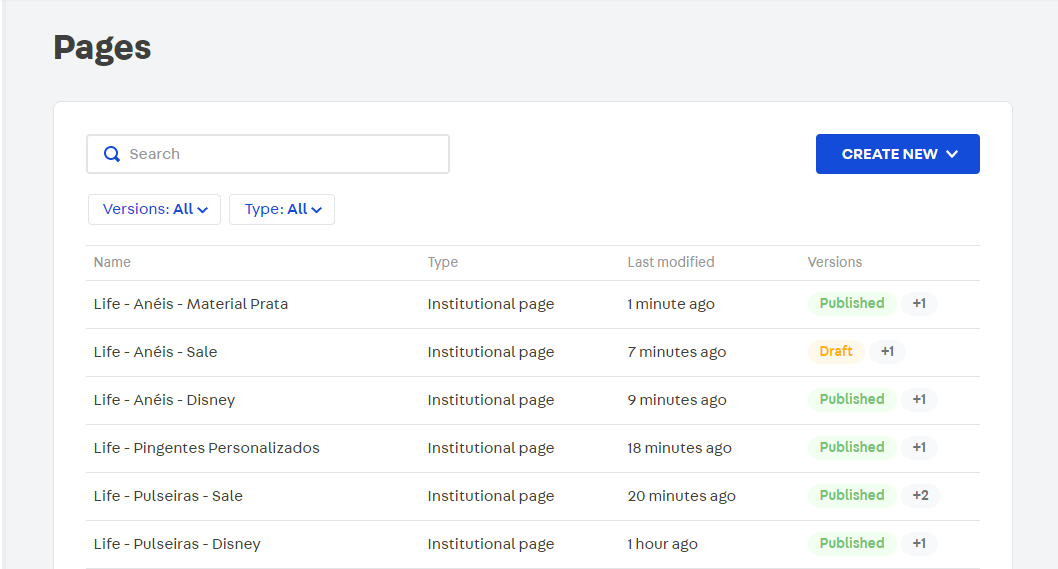
- In the VTEX Admin, access Store Settings > CMS (beta) > Pages (beta).
- Click on the
CREATE NEWbutton. - Click the desired type of change:
- Home page
- PLP
- Global SEO Settings
- Institutional page
- After making the desired changes on the page you created, click the
PUBLISHbutton. - Select the option
Add a release. - Click
Create a release. - In the Name field, write a name for the release.
In this stage, the fields Day to publish and Time are not required. This information can be decided upon later, as described in Scheduling releases.
- Click
Create.
How to create a release using the Releases module
To create a release, follow the step-by-step instructions below:
- In the VTEX Admin, access Store Settings > Releases.
- Click the
Createbutton. - In the Name field, write a name for the release.
In this stage, the fields Day to publish and Time are not required. This information can be decided upon later, as described in Scheduling releases.
- Click
Create.
Viewing releases
All the releases are listed in the VTEX Admin, in Store Settings > Releases. The page displays two tabs, SCHEDULED and UNSCHEDULED, depending on whether the release has been created with a set publish date.
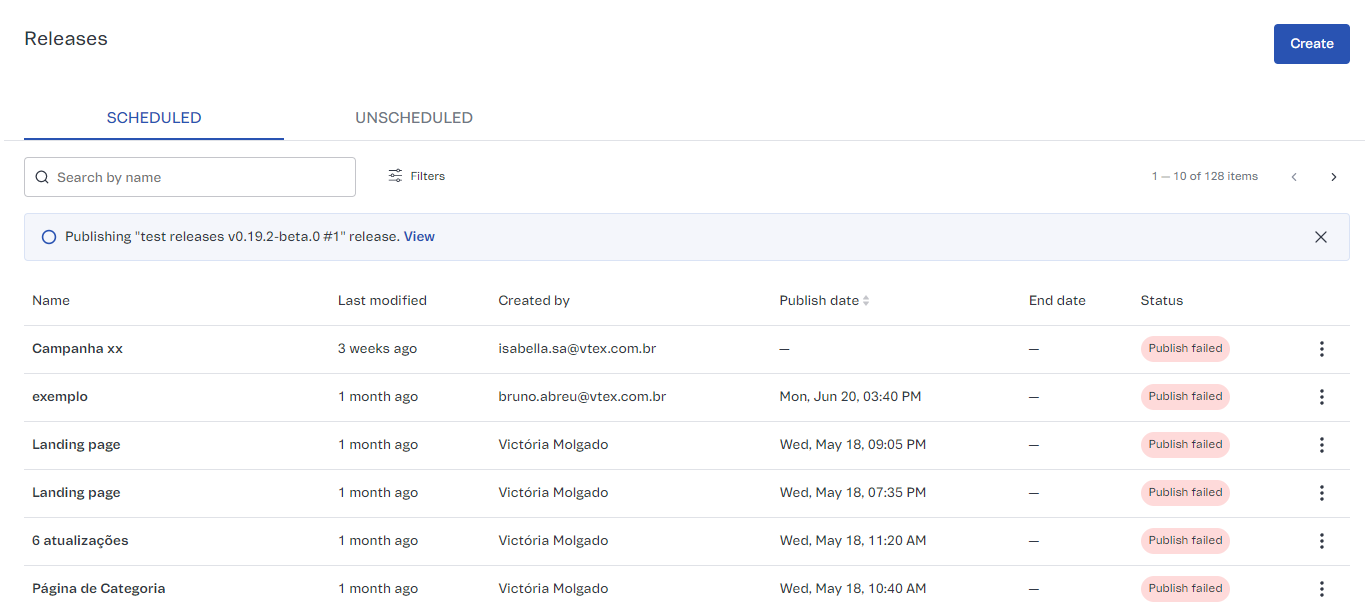
On the SCHEDULED tab, each column is described as follows:
| Column | Description |
|---|---|
| Name | Name identifying the release, set in the creation stage. You can edit the name anytime since the release has not already been published. |
| Last modified | The amount of time since the last change was made to the release, such as updating, adding, or deleting content. |
| Created by | Identification of the user who created the release. |
| Publish date | Date and time set for publishing the release. |
| End date | When a release has an end date scheduled, the date will be displayed in this column. After the end date, the release updates are undone. |
| Status | There are five possible statuses for a release:
|
In the UNSCHEDULED tab, there are only three columns with the same meaning as the ones previously described:
- Name
- Last modified
- Created by
For more information on a specific release, you can simply click it.
Searching releases
On the Releases page, you can find a release by its name using the search field. The results appear as you type. A misspelled name will return no search results.
Another way to search for releases is to use the filters available only in the SCHEDULED tab. To do that, click Filters and select the desired combination between a release status and/or the time set for publishing.
Scheduling releases
When creating a release, you can set the publish date or not, which is why there are three possible actions for scheduling:
- Schedule: Set a publish date for a release in case it is not specified.
- Unschedule: Cancel the publish date, which will put the release in the
Unscheduledstatus. - Reschedule: Set a new date for a release with a date defined.
When you schedule or reschedule a release publication, you can select the option Add end date to set a deadline for the release to be unpublished. The end date does not mean deleting the release but archiving it to be republished at any time.
Scheduling
When the release is in the Unscheduled status, you can set a publish date in two ways. Scheduling via the Releases module:
- In the VTEX Admin, access Store Settings > Releases.
- Click
UNSCHEDULEDor search using the search bar and the filters to find the desired release. - On the line corresponding to the release, click the menu icon.
- Select the
Scheduleoption. - Set a date using the calendar and an hour for the release.
- If you wish, select a date to unpublish the release by clicking
Add end date. - Click
Schedule.
Scheduling using the release details page:
- On the Releases page, click the name of the release you want to schedule.
- On the release details page, click the
Schedulebutton. - Set a date using the calendar and an hour for the release.
- If you wish, select a date to unpublish the release by clicking
Add end date. - Click
Schedule.
Unscheduling or rescheduling
When the release is Scheduled, you can:
- Reschedule and set a new publish date.
- Unschedule and put the release in the
Unscheduledstatus.
For each of these options, follow the instructions in the Scheduling section. The only difference being that the available configuration options will be reschedule or Unschedule.
Publishing releases
Releases with the following statuses allow publication:
UnscheduledScheduledPublish failed
To publish a release using the Releases module and make the changes visible in the storefront, follow the step-by-step instructions below:
- In the VTEX Admin, access Store Settings > Releases.
- On the line corresponding to the desired release, click the menu icon.
- Click
Publish now. - Click
Publish.
Another way to publish is to go to the release details page, following the steps below:
- On the Releases page, click the name of the release you want to publish.
- On the release details page, click
More. - Click
Publish now. - Click
Publish.
Deleting releases
To delete a release, follow the step-by-step instructions below:
Deleted releases cannot be recovered. The updates included in the release remain, but they are no longer grouped together.
- In the VTEX Admin, access Store Settings > Releases.
- On the line corresponding to the desired release, click the menu icon.
- Click
Delete. - Click
Delete.
Another way to delete a release is to go to the release details page, following the steps below:
- On the Releases page, click the name of the release you want to delete.
- On the release details page, click More.
- Click
Delete. - Click
Delete.