Once your event is configured on Bundle or an external studio and before transmitting it, place the Live Shopping component on your site, whether on the store homepage or a landing page. The configuration steps vary depending on your store frontend solution:
After configuring the Live Shopping component, it may take five to ten minutes for the changes to be reflected on the storefront due to caching.
Store Framework (VTEX IO)
For stores using Store Framework, follow the steps below to place the Live Shopping component from Site Editor:
- In the VTEX Admin, go to Storefront > Site Editor, or type Site Editor in the search bar at the top of the page.
- On the Blocks list on the right side of the page, select the Live Shopping block.
- Activate the
Show componentoption. - Click the Events (Live) dropdown and select the desired event. The options displayed only include events with
Livestatus. - Click
Save.
Legacy CMS Portal
For stores using Legacy CMS Portal, follow the steps below to place the Live Shopping component:
- In the Event Information page of the created event, click the arrow icon.
- After turning on the event, go to the CMS Configuration section.
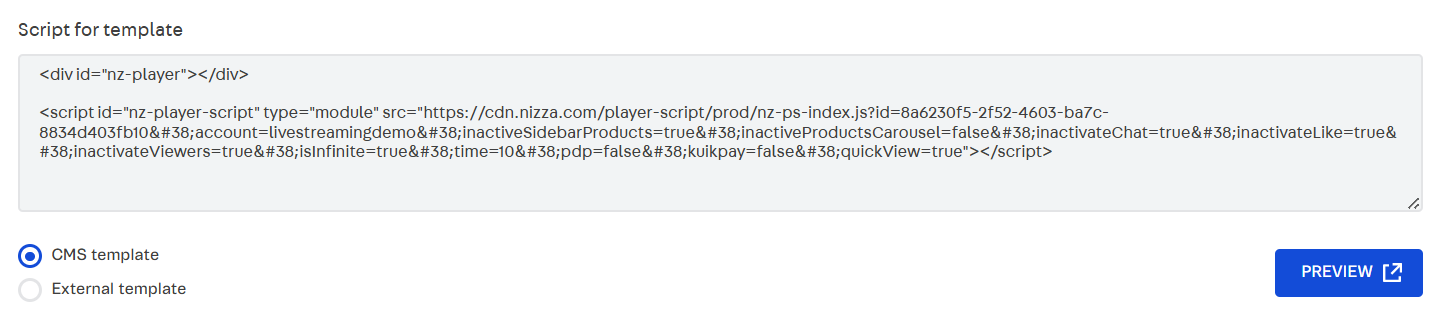
- In Script for template, select
CMS template. - Copy the code in Script for template.
- Go to Storefront > Layout, or type Layout in the search bar at the top of the page.
- Click CMS > HTML Templates.
- Paste the code in the desired HTML file.
Headless CMS
For stores using Headless CMS, follow the steps below to place the Live Shopping component:
- In the Event Information page of the created event, click the arrow icon.
- Go to the CMS Configuration section.
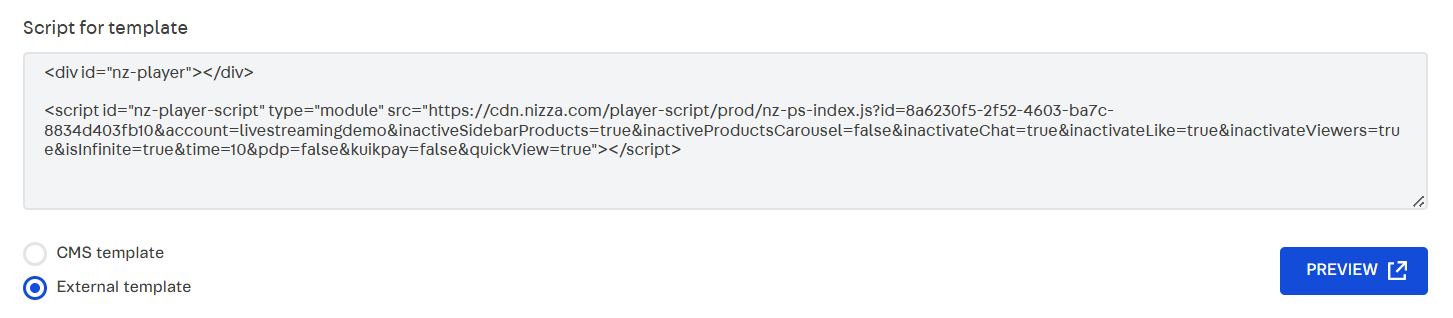
- In Script for template, select
External template. - Copy the code in Script for template.
- Paste the code in the desired HTML file.
After configuring the event, you can see a preview by clicking the preview button. However, since this preview only displays certain Live Shopping components, we highly recommend doing additional checks on the entire website to ensure everything is working properly.
FastStore
To place the Live Shopping component on your project, follow the steps below:
This feature is available as a native solution in the latest version of FastStore. If your storefront uses FastStore v1 or v2, see the guide Implementing Live Shopping for FastStore previous versions.
- In the VTEX Admin, go to Apps > Live Shopping > Events, or type Events in the search bar at the top of the page.
- In the Action column, click the arrow button to go to the Event page.
- In the Details section, copy the
IDvalue, a unique code of numbers and letters. You can use theCopy to clipboardbutton. - Go to Storefront > Headless CMS, or type Headless CMS in the search bar at the top of the page.
- Select the page where you want to add the Live Shopping Player.
- In the
Sectionstab, add the player by clicking+Add Section on the desired place. - In the Add Section window, click Live Shopping Player.
- In the Live Shopping Player field, paste the event ID you copied.
- Click
Save. - When you're ready to display the player on the storefront, click Publish > Publish Now.
- (Optional) If the page version has been published before and the **Overwrite Published Version **window opens, click
Overwrite.
After a few moments, the deploy will be completed and the status in the Versions section will change to Published.