The Account page allows you to view and manage your VTEX account details. To access it, click your profile avatar that has the first letter of your email, and click Account Settings > Account.
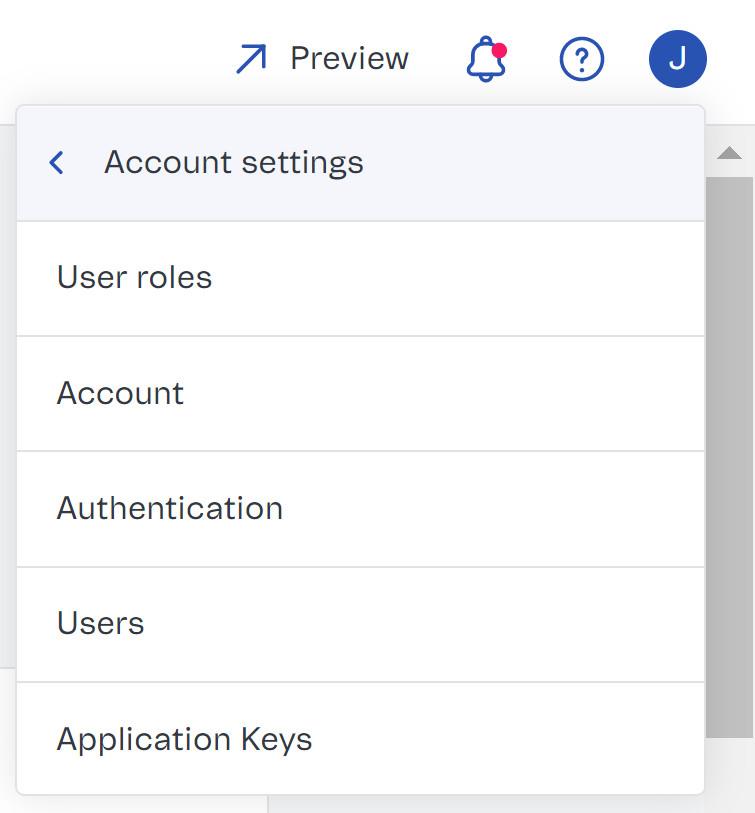
This screen has no application key details. Learn where to find and manage this information in the article Application Keys.
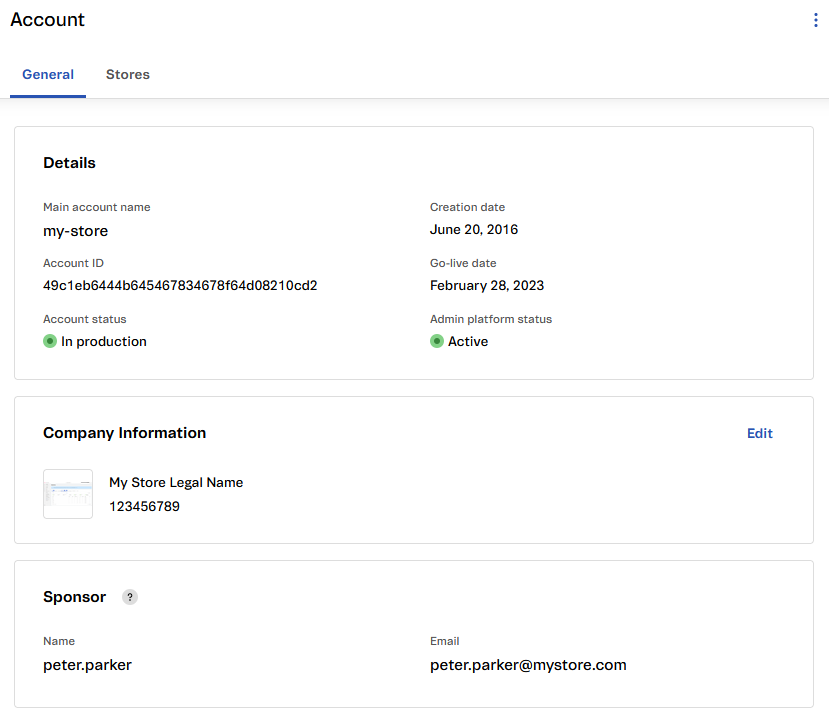
The Account page is divided into two tabs: General and Stores. Learn more about each tab below.
General
The General tab's features are available in the Details, Company Information, and Owner sections. This tab allows you to:
This tab allows you to:
- View account details.
- View and edit company information.
- View account-sponsor-user information.
Details
In this section, you can check the basic information of your VTEX account.
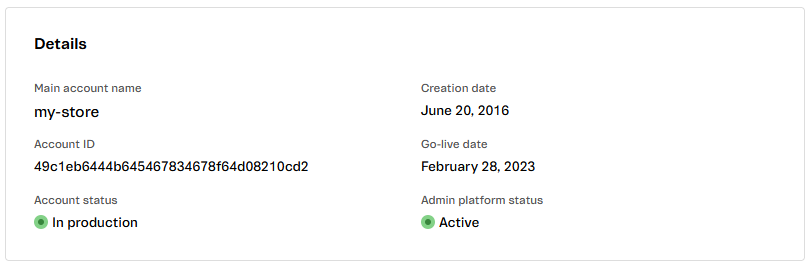
- Main account name: VTEX account name.
- Creation date: The date your account was created.
- Account ID: The unique code that identifies your account.
- Go-live date: The date your account was activated and available for configuration and store implementation.
- Account status: Indicates whether your account is in production or not. An account in production is the first step to making your store available for customers in a public domain. This status can be either in production or not in production.
- Admin platform status: Indicates whether or not your account is active, which means that the VTEX Admin and APIs are available for the configuration and deployment of your store. This status can be Active or Inactive.
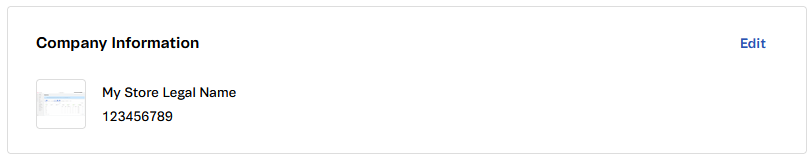
Company information
In this section, you will see the following information about your company:
- Logo
- Trading name
- Company registration number
Editing company information
You can edit the company information by following the steps below:
- Go to the Account page by clicking your profile avatar that has the first letter of your email address, and then go to Account Settings > Account.
- Go to the Company Information section.
- Click
Edit. - Change the desired information regarding:
- Logo
- Trading name
- Legal name
- Company reg. no.
- Click
Save.
Your logo must be a JPG, GIF, or PNG file with a maximum size of 800 KB.
Sponsor
This section displays the account sponsor details. Each VTEX account has only one sponsor account, which has full access to all Admin sections, including important maintenance and authorization actions.
Learn more about the sponsor user.

If you are the sponsor user, you can transfer store ownership in this section. This allows you to transfer the store's ownership to another user.
Stores
In the Stores tab, you can:
- View store list.
- Add new store.
- Edit store.
- Delete store.
By clicking the Stores tab at the top of the screen, you will see a list with all the information of all the stores created in your VTEX account.
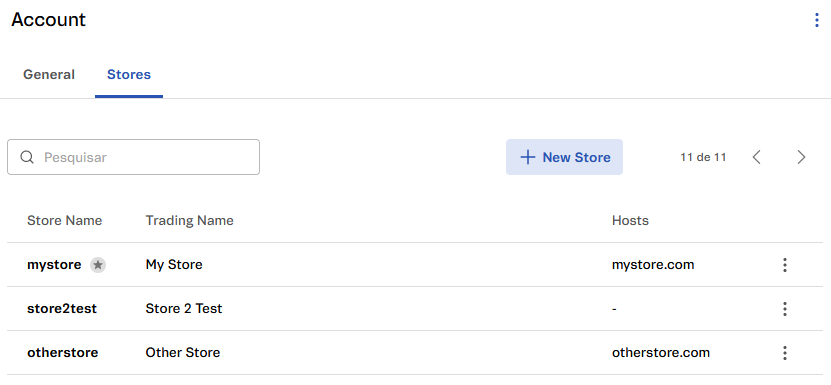
For each store, you can view the following details:
- Store name: Name that will identify your store.
- Trading name: Business name of your store.
- Hosts: Domains related to the store.
You can use the search box to filter the stores displayed in the list by any of the attributes.
You can also create a new store, edit a store, or [delete](# delete-store) existing stores.
Creating a store
Follow the steps below to create a store:
- Go to the Account page by clicking your profile avatar that has the first letter of your email, and then go to Account Settings > Account.
- Click the Stores tab at the top of the screen.
- Click the
+ New Storebutton. - Fill in the basic store information:
- Store name: Name that will identify your store.
- Trading name: Business name of your store.
- Locale: Preset language associated with this store.
- Trade policy: Trade policy you want to associate with the new store.
- If you wish to start the go-live process for your store, fill in the Hosts field with your store's domain. Otherwise, leave it blank.
- Click the
Createbutton.
To learn more about configuring your store's Hosts, read the article Configure your store domain.
Do not use a ".com" domain in the Store Name field. This type of entry can only exist in the Hosts field.
Editing a store
Follow the steps below to edit information from an existing store:
- Go to the Account page by clicking your profile avatar that has the first letter of your email, and then go to Account Settings > Account.
- Click the Stores tab at the top of the screen.
- Click the action button corresponding to the store you want to edit.
- Click
Edit. - You will see the account edit page. Edit the information you want.
- Click
Save.
Deleting a store
Follow the steps below to delete a store:
- Go to the Account page by clicking your profile avatar that has the first letter of your email, and then on Account Settings > Account.
- Click the Stores tab at the top of the screen.
- Click the action button corresponding to the store you want to delete.
- Click
Delete. - You will see a confirmation modal. Click
Delete.
The name of the removed store cannot be used again.
Note that the main store, indicated with a star next to its name in the store list, cannot be deleted.